Installation : Quick-Setup
Quick Setup
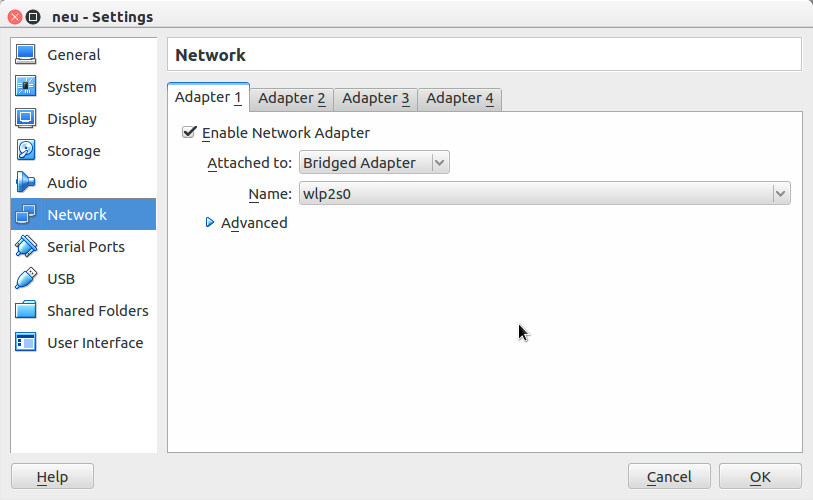
- Before Run your neuCRM on Virtual Machine(VM), configure one Virtual Network Interface Card on your VirtualBox. This Virtual NIC / Ethernet Port should be attached to Host OS in Bridged Mode.
- Allocate minumum 1 GB RAM to neuCRM VM. And you can increase it later on if required.
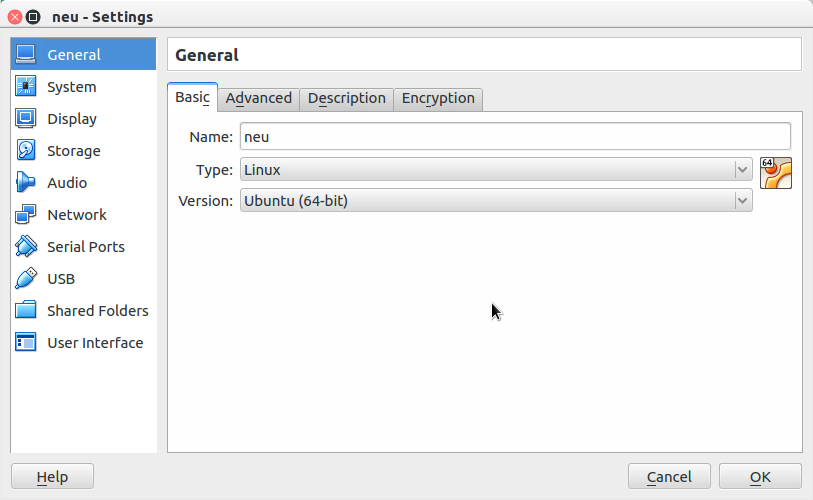
- And configure your VM(Virtual Machine) for this neuCRM package as Ubuntu 64bit Operating System.
- Now Start neuCRM VM
- After power on/Start your neuCRM Virtual Machine, a login prompt will appear.
- Once
crm login:prompt comes, means that neuCRM is ready and starts functioning. - You Need not to Login via VM any more. Leave it as it is. If you wish, you may do minimal administration task via console login.
- Now you can access this neuCRM only from Web interface.
- Newly Downloaded VM was pre-configured with the IP Address: 192.168.1.100 on its Virtial Network Interface Card.
- All the configuration & Administration should done on web interface only.
- Open your browser and Login to http://192.168.1.100/crm/ on your browser with Username: serveradmin and Password: serveradmin@123. You can also change this URL into
http://crm.mydomain.comstyle. To know how to do this, please refer Configuration section of this Document. - If you are unable to access web page on 192.168.1.100, try to ping 192.168.1.100 from your host machine or from any computer on LAN. If you are unable to ping 192.168.1.100 please check, is your computer has IP Address in 192.168.1.x range, if not please add. After login into neuCRM web page, you can change IP Address of neuCRM server.
- On first login as serveradmin you must change your default login Password
- Configure your Network: IP Address, Subnet Mask, Default Gateway, DNS etc. After changing Network Settings you must Restart the VM.
- Adjust your Timezone Settings
- Enter your Licence details which is got from Registration Step on Admin → Settings → Server → Licence menu.
- After validating Licence information, You will get FREE Credits worth 100 Internet Users Licence.
- If you need, change your Currency Symbol, Date Format etc on Admin → Settings → Config menu.
- You can use neuCRM at Free of cost up to 100 User Months. Beyond that you need to Purchase Credits from here.
Understand the Concepts
The Minimal Data Creation for First Run
Info
Please follow the hierarchy,- serveradmin account is for managing Server Administration and Managing ISPs
- ISP account is intented for managing Resellers / Franchisees
- Reseller account is intented for managing Employee Account, Customers, Billing Packages, Area/Location, SMS/Email, Radius etc
- Employee account is intented for low level Privileges
From version 4.0 and later, the minimal data was pre-created for ready to use. The following data were pre-created.
- ISP1 as first ISP whith login user as isp1 and password as isp1
- Reseller1 as first Reseller whith login user as reseller1 and password as reseller1
- A Demo plan
- and a demo customer with PPPoE username as demo and password as demo
- The default NAS IP was set to 172.20.20.1, you may modify as per your need
Any how for the completeness of documentation, the manual setup procedure too given below:
- Login as serveradmin
- Create/Add a new ISP: The first step is Create/Add a ISP on Admin → ISP → Create menu.
- Create/Add a new userid for Login as ISP: Create a userid for login as ISP from Auth → Users → Create menu. Optional: You can also create more than one userid for an ISP.
- Edit this newly created userid and assign a ISP Role to this newly created user for granting ISP Privileges.
- Logout from serveradmin.
- And again login as a ISP using the above created userid
- Create Reseller : Next step is Create a Reseller at Admin → Reseller → Create menu. It is required to create at least one Reseller. Even if you are an ISP and directly providing service to end customers, you can have Reseller in the same name of ISP.
- Create login userid for Reseller: Create/Add a new login userid for above Reseller from Auth → Users → Create menu. Optional: You can also create more than one userid for a Reseller.
- Edit this newly created userid and assign a Reseller Role to this newly created user for granting Reseller Privileges.
- Logout from ISP account.
- And again login as a Reseller using the above created userid.
- All remaining works can be done from Reseller Account.
- Add your Location & Location Code on Admin → Settings → Location → Add menu.
- And add your Sub-Locations & Sub-Location-Codes on Admin → Settings → SubLocation → Add menu under the above created Location.
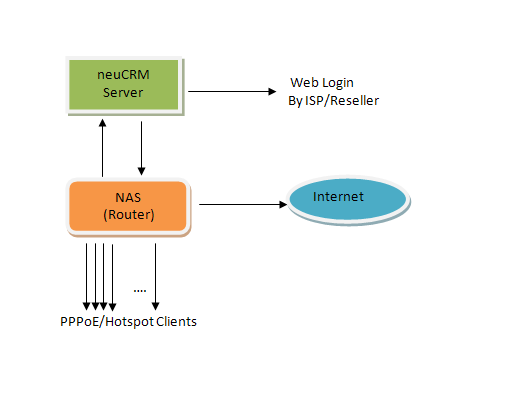
- Now you can Add NAS(Network Access Server) on Admin → Radius → NAS → Add menu.
- And you must configure your NAS (Router) for enabling RADIUS authentication. Configuration of NAS is beyond the scope of this document. Any how for the Quick Implementation please refer our Sample Mikrotik NAS configuration procedure.
- Now you are almost done!.
- The remaining things are Billing Plan and Customer creation only.
- Create Bill Plan at Home → Plan → Create Plan menu.
- Now Add a First Customer at Home → Customer → Add Customer menu.
- Now view this Customer details, Click on Add new Service. Here you can specify PPPoE username/password. And create a new Service for this customer.
- After Service creation you need to Activate this Service and then put this username/password at customer end Router. Then it will get connected and starts working.
- You can also create multiple services for a single Customer.
Want to Migrate from Other software OR Want user Creation by bulk Upload ?
Please read our Speedy migration Guide .